 Skye Desk
Chapter 5
Use your LoRA
Load it in ComfyUI, bring the pictures back into Skye Desk and keep your files together.
Use your LoRA in ComfyUI
Where the file goes, which node loads it, how strong to set it and where the trigger word goes.
Your training tool saves the LoRA as a .safetensors file, usually one for every few hundred steps. Use the step you chose.
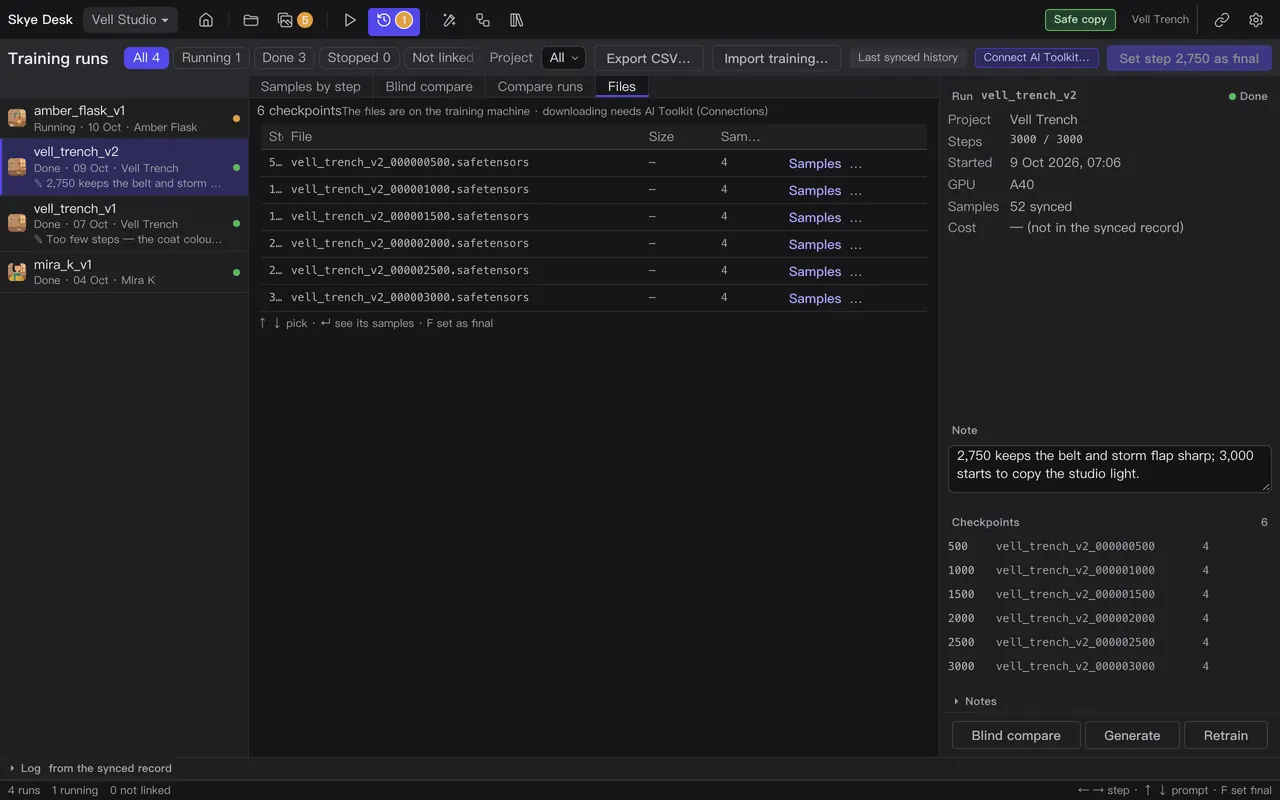
Put the file in place
- Copy the file into ComfyUI/models/loras. A sub-folder there is fine.
- Reload ComfyUI in your browser, or restart it, so that it lists the new file.
Load it
- In ComfyUI, add a Load LoRA node after the model loader and pick your file. Start with a strength of 0.7 to 1.0.
- Connect the model, and the CLIP if your workflow has one, through Load LoRA on to the sampler and the prompt.
- Keep the base model the LoRA was trained on: a LoRA only works with its own model family.
Strength
- Load LoRA has two strengths, strength_model and strength_clip. Give both the same value to begin with.
- Your subject is weak or missing: raise the strength a little, up to about 1.2.
- Pictures look stiff, burnt or all alike: lower it to 0.5–0.7.
- Change it in steps of 0.1 and keep the seed the same, so that you only see what the strength does.
The trigger word
- Put the trigger word at the start of your prompt.
- Spell it exactly as in your captions.
- Then describe what should change, the way your captions did: the pose, the place, the light.
my_coat, a woman walking on a beach at sunset, wide view, soft evening light
Base model licences differ. Some do not allow selling what you make; check before you sell or publish.
Connect ComfyUI
Set ComfyUI’s output folder once, and the pictures you make come into Skye Desk by themselves.
Skye Desk watches the folder ComfyUI saves its pictures in, and brings each new one into the project you have open on Generate.

Set it up
- Open Settings › Generate. Next to ComfyUI output folder, click Change… and choose the output folder inside your ComfyUI folder.
- Open your project on Generate. If the folder is not set yet, its Set folder… button does the same.
- Make pictures in ComfyUI as usual. While Generate is open, Skye Desk looks in the folder every few seconds.
- Each new PNG, JPG or WebP lands in the project’s results, ready to pass with A or reject with X.
File pictures under a shot
Start the file name with the shot’s name: in ComfyUI’s Save Image node, set filename_prefix to it. Point at a shot on Generate to see its name. Pictures whose names match no shot still come in, without a shot.
Good to know
- Only pictures made after you set the folder come in. Older ones stay where they are.
- Nothing in the ComfyUI folder is moved or changed, and exact copies are skipped.
- ⌘Z moves the pictures that have just come in to Recently deleted.
- Stop on Generate stops watching and clears the folder setting.
Coming later
- Making the pictures from Skye Desk, with ComfyUI on your Mac or on a rented GPU.
Shots, prompts and results
Keep the prompts and the pictures you make with your LoRA in order.
Generate watches your ComfyUI output folder: new pictures appear by themselves, grouped by shot, ready to review.
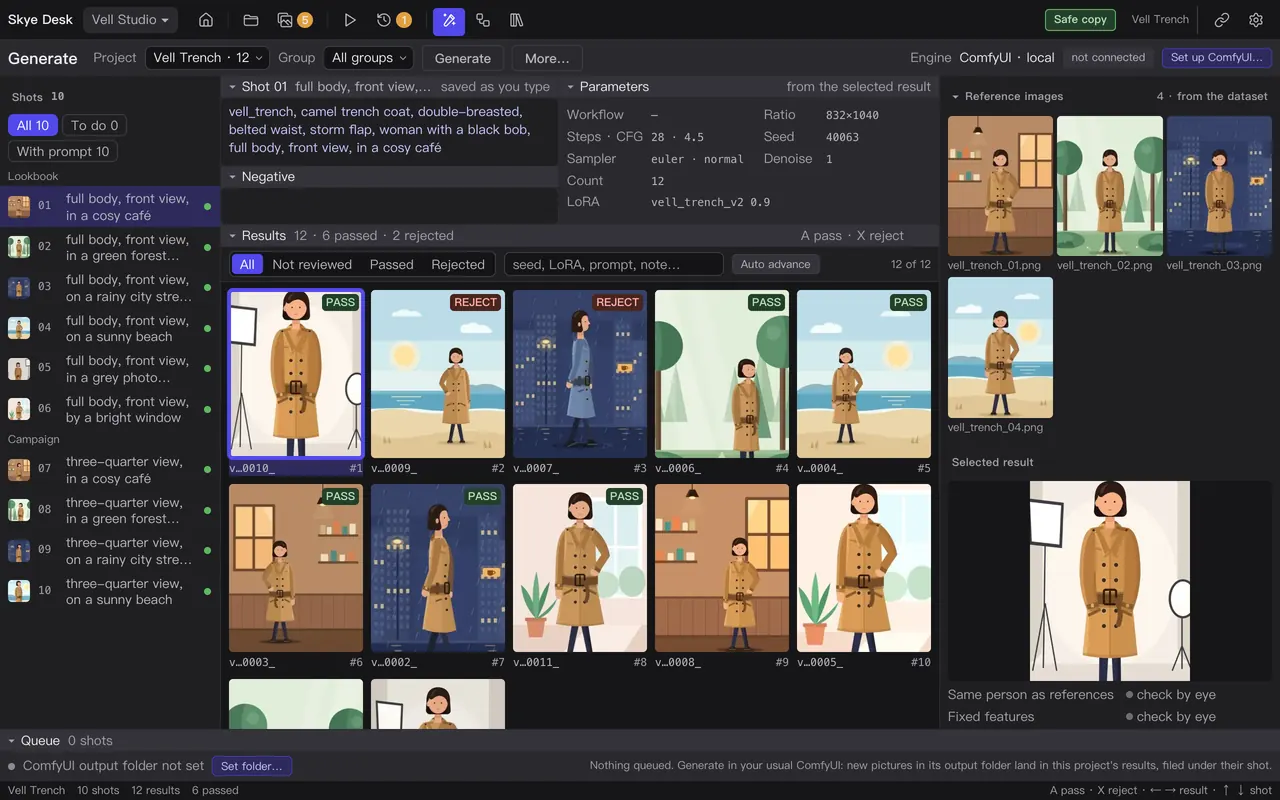
- Open Generate and pick a shot on the left.
- Write its prompt and negative prompt; they save as you type.
- Set your ComfyUI output folder once. New pictures show up by themselves, grouped by shot.
- Press A to pass or X to reject each result.
- Like one? Reuse its settings for the next shot, or add it to the dataset.
Coming later
- Making the pictures from Skye Desk with the Generate button.
Find the workflow in a picture
Pictures made in ComfyUI carry their workflow. Skye Desk reads it back.
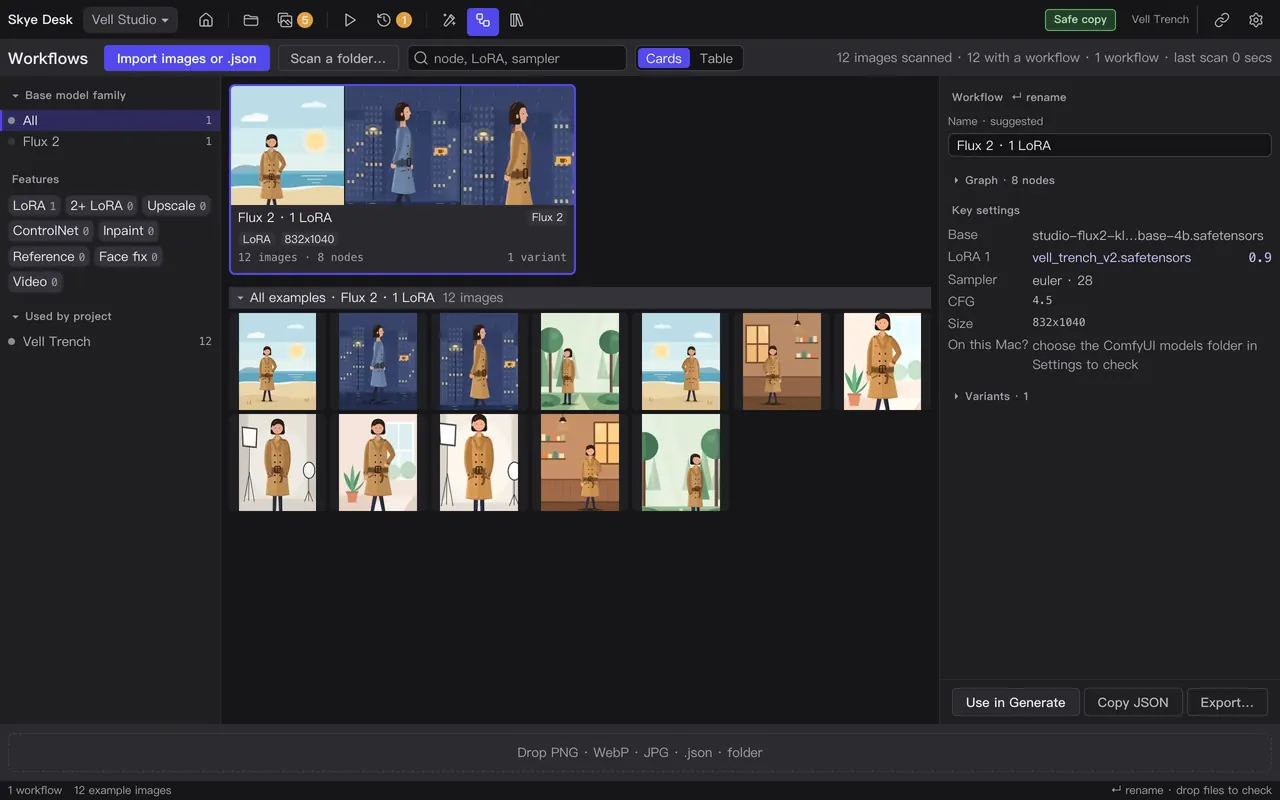
- Open Workflows.
- Drop PNG, WebP or JPG pictures, .json files or a folder.
- Each workflow is read and named for you; press Return to rename it.
- Filter by base model or by what it does (LoRA, Upscale, ControlNet and more).
- Use it in Generate, or export it.
Library and references
Keep model files, your designs and reference pictures next to your projects.
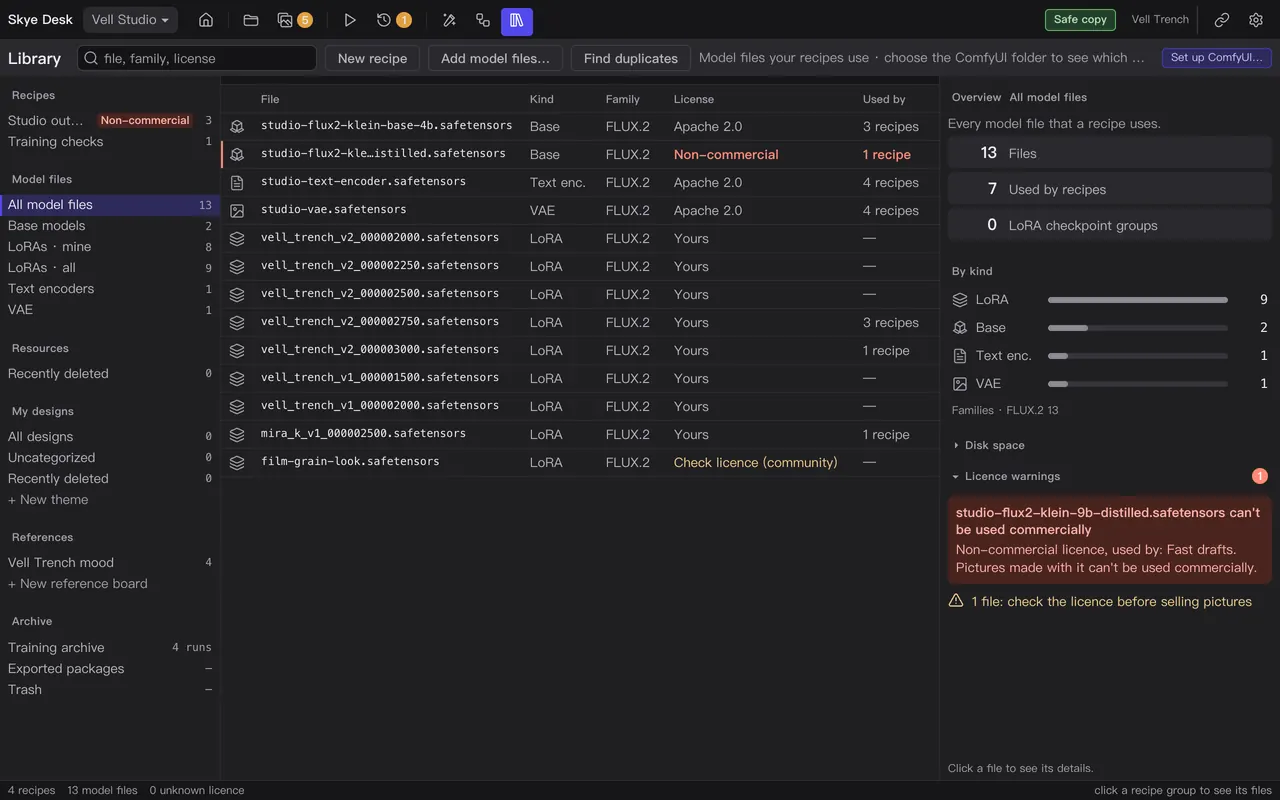
- Open Library. Resources keeps your model files and links in one list.
- My designs keeps your own pictures in themes: star the best, group by date, download a group as a ZIP.
- In References, paste a screenshot with ⌘V into a board, add tags and the link it came from.
- Click a picture to pin a numbered note on it.
Videos work in the library too: each one shows a thumbnail that plays when you point at it, and opens full screen.
Coming later
- Downloading models from Hugging Face or Civitai.